
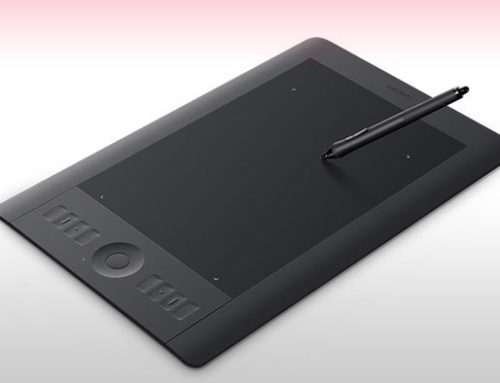
This tutorial explains my technique for creating a digital portrait. Step by step instructions on how I go about painting a face portrait using Painter. This approach also works for Photoshop. A tablet (Wacom or any other with pressure sensitivity) is a must-have requirement. Enjoy!
Step 1
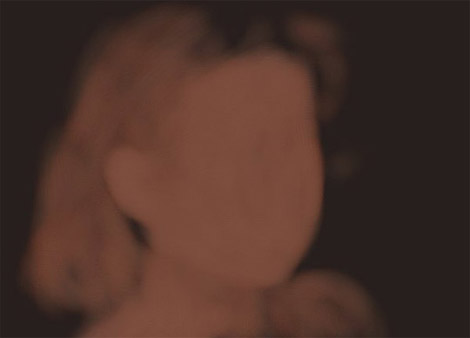
First and foremost, I look at the subject for a minute or two, trying to absorb it’s shape, volume, colors and mood. After this brief time, I start drawing. The main shape is loosely sketched with a large brush with a 60% opacity. At this stage, I don’t worry too much about precision of the strokes. Mostly, I use one or two colors. I try to use the predominant color in the subject. For skin tones, I usually lay down a darker color. I like to work the highlights on this layer in the next step.
Step 2
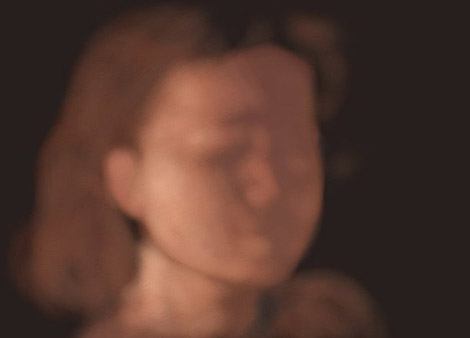
This is the stage where I add volume to the initial flat shape. With a smaller brush, and a very low opacity setting, I concentrate on capturing the subject’s lighter areas. For this stage, I use a midrange color (in between the predominant color of the previous stage, and the color of the brightest highlights found on the subject). After the larger lighter areas are set in place, still very loosely, I might switch to an even lighter color and use it to sketch some of the highlights. No line drawings yet.
Step 3
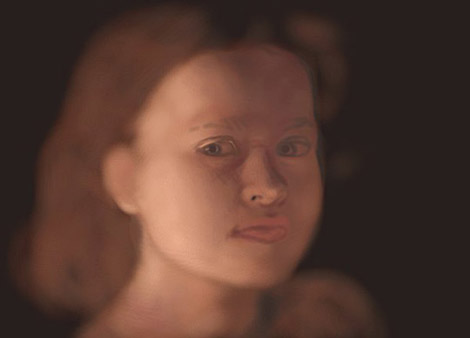
Shadows! At this point, it is time to darken some of the areas left untouched until now. Now, I switch to the brushes tool. This tool enables me to obtain a very realistic blending of the strokes. Also, I like its feel and its dynamics. Anyway, using a smaller brush, I start drawing the main features, such as the eyes, nose, eyebrows and mouth. Again, no need to be too precise.
Step 4
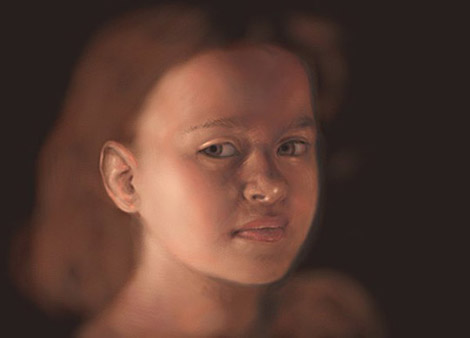
Refining the shape. Now that most of the elements are in place, I have to make sure the profile is right. Having the main features sketched in place, I can judge if any of the elements shape or positioning are off. As visible in the image of this step, I redrew one of the eyes, since it was too high in the previous stage.
Refining the volume. At this point, I also finalize the light and dark areas. I don’t worry much about blending now. Before moving on to the next step, I make sure all the subject’s features are in the right place and well proportioned.
Step 5
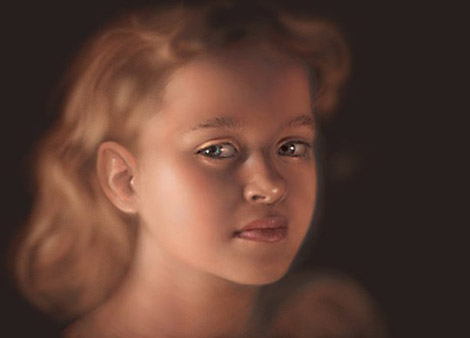
Blending.
It takes time to blend colors with the brushes tool, but I make sure each stroke is well placed. Concentration and proper control of the stylus pressure are the key.
Final details and highlights.
At this final stage, I add highlights, especially in the eye and lips areas. For this image, I left the hair for last, since I enjoy painting hair very much and prefer to leave it for last, so that I can look forward to it while working on the other parts of the image.
Final Image
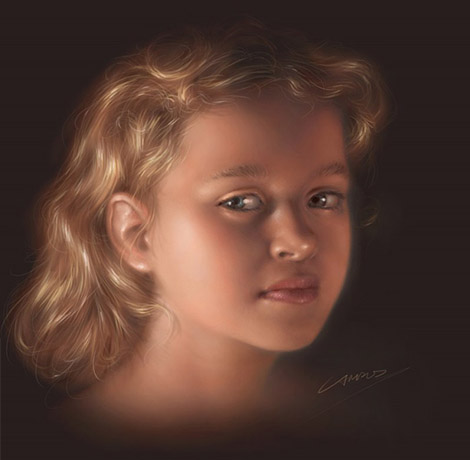

[…] the whole Painting a Digital Portrait tutorial […]
very nice tuto though ii would be more complete if show how you pick your brushes and details of the image
It is very good one … i really liked it … the light effects are very nice . It would have been nice if u given this whole tutorial in a video clip using a good screen capture utility. I came across a very good screen capture which converts all ur screen actions into a movie clip i.e. Camtasia Studio 4 . This one i use.
wow…..this is unbelievable….its still beyond my comprehension..
hi dad,
It’s Gwen. I just wanted to posed this just because so ello (i mean 2 not put in the h) lol
cya
your daughter
gwen
Excellent stuff.
While I can produce a reasonable good Portait in pencil or oil paint, I have great difficulty in tyring to get a handle on Photoshop tools.(I use Version 6.00)
There are so many to choose from. I would welcome any advise you can give on a Tutorial on the use of the basic tools – i.e. a simple example -.
Keep up the good work
Joe
hooo !! is really beathyfull !! so incredible
perfect , awosome . nice , cute and so . so especial!!
god job and …impresive
You had really uncanny capability.
This site is too beautiful!!
Thank you for showing a great art!!
have a nice day~
Hello,i´m from Spain.
your web is great.
I love to draw ,and now i´m trying with
paint shop pro to colorize my draws.
I still need a lot to learn.
Your tutorials are wonderful.
I have a blog with my draws gallery,and had post your feed on it.
keep the great job.
mininessie
Great tutorial, nice, amazing.
but it is quiet difficult for me, please tell other details like brush size, type and color.
i am really want to make this, i am crazy about it. please help me in this tutorial.
thanks for showing us this great work..
Meenu
lovely, cute , nice girl…
u rock….
[…] Painting a Digital Portrait […]
I love your work and have been using your tutorials as an aid and inspiration to help me develop my skill in painter 11.
I have tried to look for tutorials with step by step instruction eg. video tutorial, but with no luck.
could you post a tutorial on how you achieve each step eg. brush type and size, type of paper used, colors used, what functions in painter were used to archive this result.
Thank you.
How much you charge for making a digital portrait based on a submitted photo ? I saw a lot of those digital artists but I have to admit that yours tops them all !
Nice job
NIce tutorial
Great piece of art!
i really love your work…
i want to mke my picture like this…hahahha
how i wish i will make it..hahahah
by d way..thnx for sharing….
keep on posting!
Amazing! Lovely work! Thanks for sharing it with us.
Hi
Please don’t take this wrong-I am not complaining, merely explaining. I have to say I was disappointed by reading through the tutorial-the portrait is lovely. I am a professional artist (paint) and I know how hard portrait painting can be. Which brings me on to my point-although you talk through the artistic process there is no tuition on how to use a computer to acheive the result. If this article appeared in a book or site about painting in oil or acrylic it would not seem out of place. At the start you said that ‘this tutorial explains my technique for creating a digital portrait’ but with all respect, it doesn’t. I would love to see a step by step tuition on how to do this using a Wacom and a pc/mac. So e.g., although you say that “I left the hair for last, since I enjoy painting hair very much and prefer to leave it for last” there is no clue given as to HOW to paint it.
Would a tution article on that be possible?
not a real tutorial. more like one of those annoying ” the making of..” readings.
[…] on my own and to the areas of subtle change in tone that hasn’t been copied correctly. JUDGING YOUR LIGHT AND DARK […]
Excelente tutorial… estaba buscandolo desde hace tiempo y no lo explicaban tan bien como lo haces tu… gracias 🙂
Nice tuts can you also make some tuts on toolpic that will be great