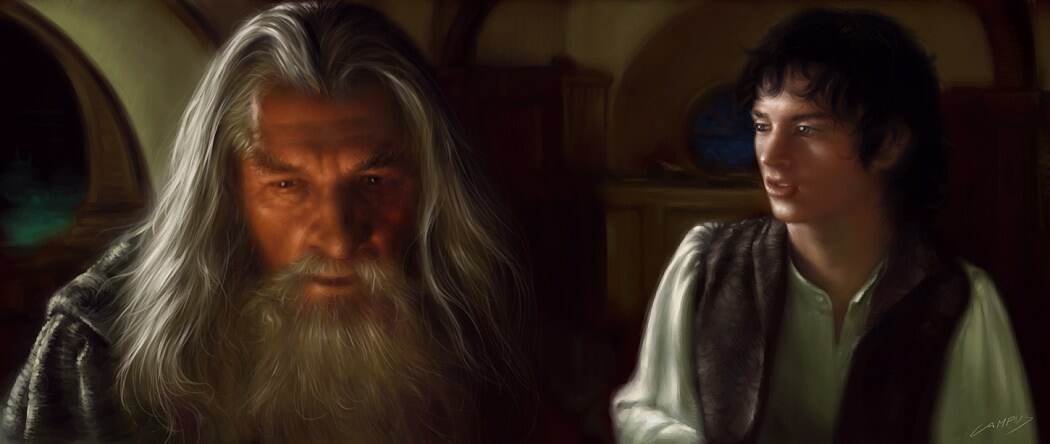
This tutorial demonstrates my digital painting technique for creating character portraits from The Lord of the Rings films using Corel Painter.
Step 1: Initial Sketch
Begin by studying the movie frames for reference, absorbing the subject's shapes, volume, colors, and mood. Create loose sketches using a large brush at 60% opacity with a limited color palette focused on predominant tones. At this stage, achieving correct proportions and volume takes priority over detail work.
Step 2: Light, Dark & Blending
Using a smaller brush with very low opacity, render lighter areas first, then add the brightest highlights with an even lighter shade. Subsequently establish the darkest areas. For blending, switch to the brushes tool which enables realistic color blending. Concentration and proper control of the stylus pressure are the key to successful blending.
Step 3: Final Details
Refine areas requiring more definition, particularly facial features and clothing. Add highlights strategically, especially around the eyes and lips region.