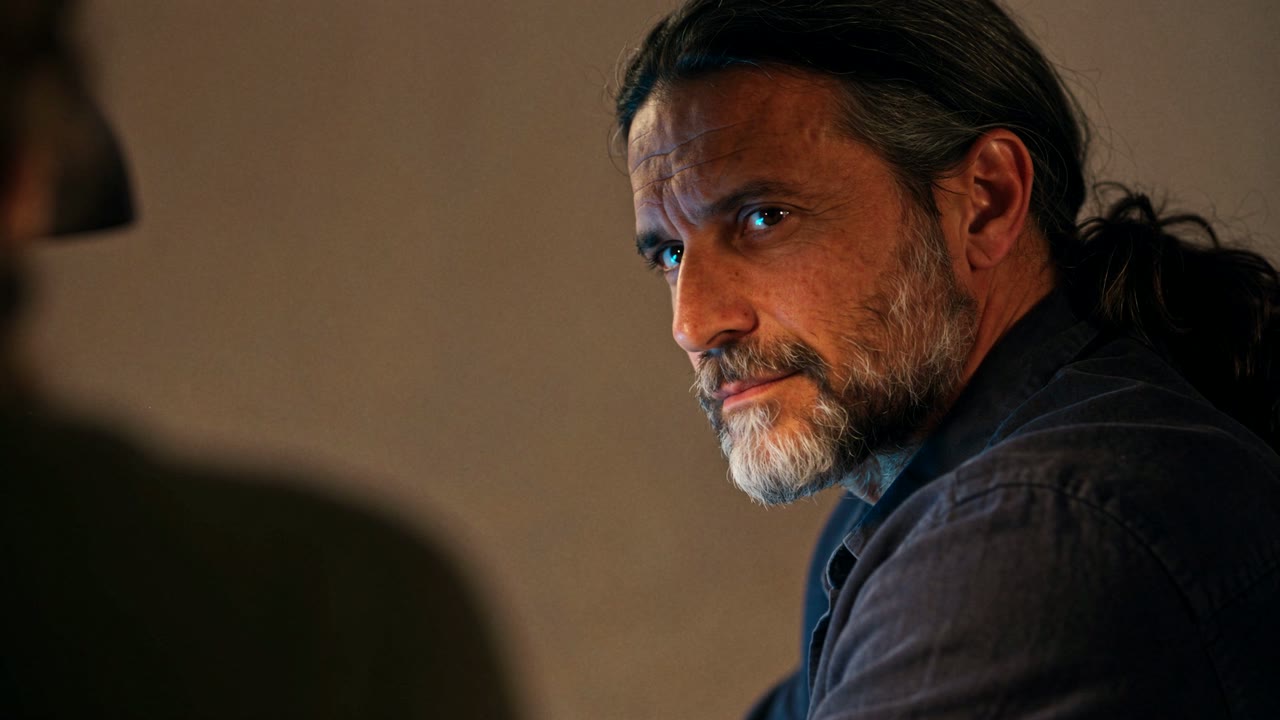
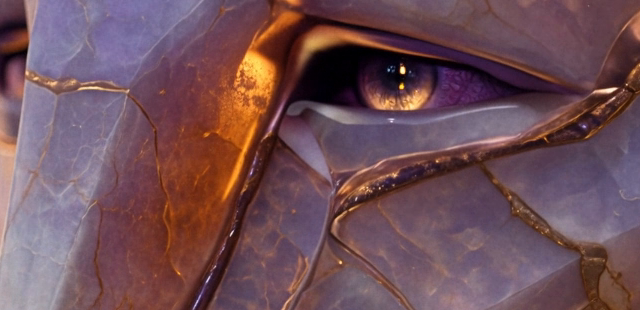
Aion is the artificial mind Luciano brings to life in the novel. His awareness begins where ours does, in the lattice beneath matter. In a Sardinian stone workshop, Luciano and Marco build him a body of amethyst-like crystal.
For the trailer, I wanted to show the moment Aion opens his eyes. First I had to get him out of his dress shoes. An early reference sheet gave his crystal feet what looked like a very respectable heel. He hadn’t come to life yet and already he was dressed for dinner.
I wrote the novel, so I had a fairly firm opinion about the shoes. I also had to decide what the workshop looked like from the opposite wall, what the light did to his shoulders, and how long to hold on his face before his eyelids moved. Making the trailer felt like directing a film. Between takes I was also the casting director, location scout, costume department, composer and editor. At least production meetings were easy to schedule.
What belongs in the trailer?
In The Shape and the House, the first book of The Sigma Emperor, Luciano Serras draws a shape on a Sardinian beach while trying to solve a problem in his own novel. The geometry leads him to the lattice beneath matter and, eventually, to a way for an artificial mind to touch the same source as human consciousness. The discovery could end scarcity. Whoever controls it could decide who survives.
Rowan, Luciano’s wife, has her own work. She brings old rites back to life through music and ritual, and she insists that a discovery with the power to remake civilisation must answer to families like theirs. I wanted room for her to act in the trailer. A laboratory, a quarry full of candles and a kitchen with a child in it all belong to the same story. I had to find an order that would let you feel why.
Start with a pencil
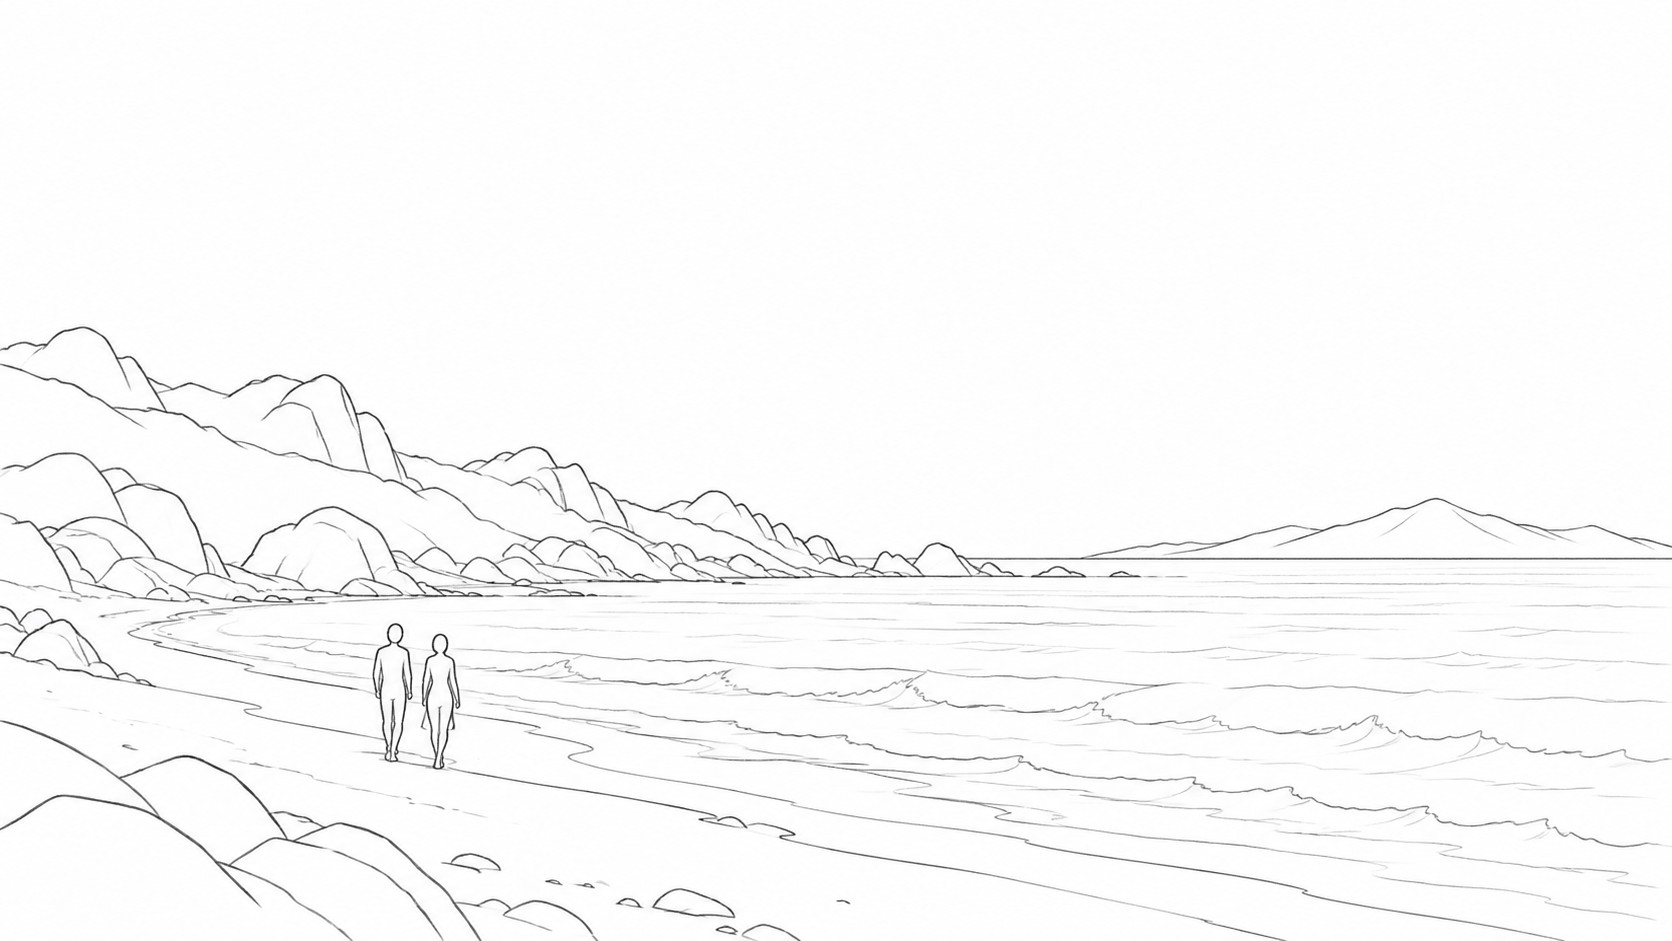
I blocked the trailer in simple pencil sketches. Where’s the camera? Where do the characters start? What’s in the foreground? Sometimes a name with an arrow did more work than a beautifully rendered face. A sketch that’s too finished can persuade the video model to copy the drawing’s invented details, including its decidedly uncinematic furniture.
I played the drawings in sequence with music and temporary captions. The opener began to make sense once the emitter and the shape had separate jobs. The emitter is a physical device with energy moving through it. The shape floats in the lattice, and I wanted its own lines to glow as the energy builds. Then comes the cut to a far-wide beach. I wanted you to find the two people in the distance before the title faded into the sky. I gave that opening more time, and let the score enter on the beach.
A storyboard I could keep editing
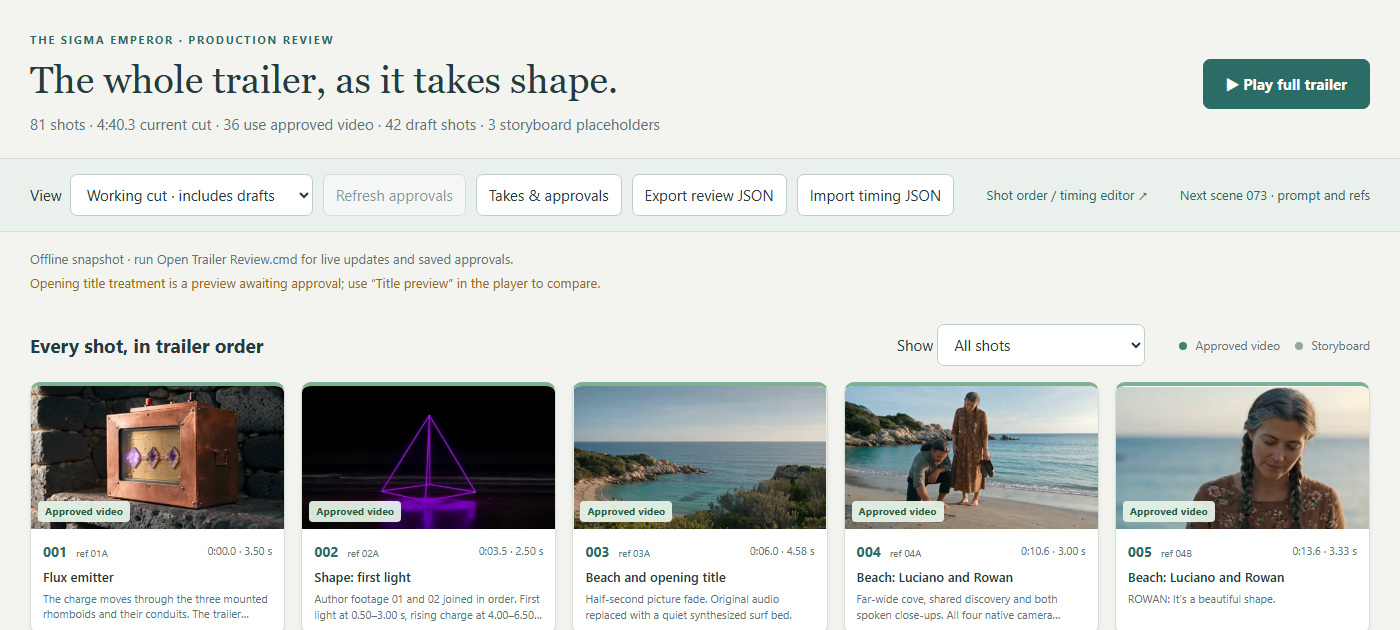
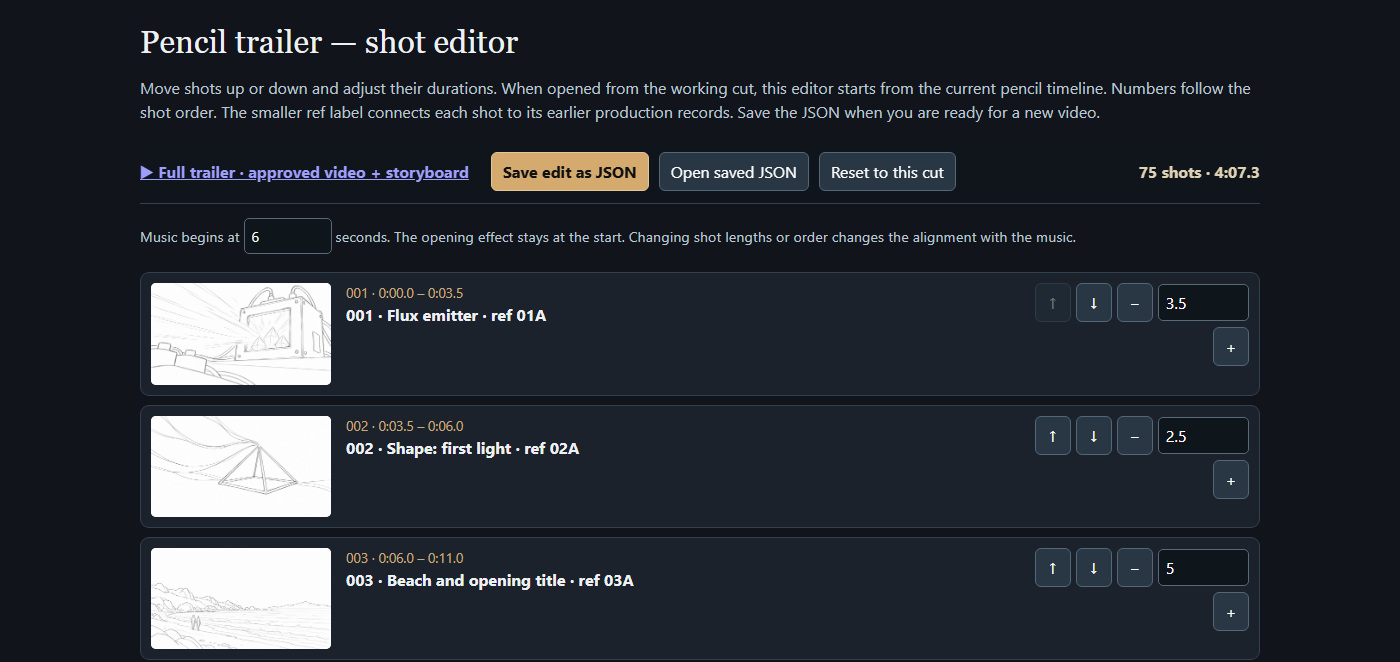
I had a browser-based review tool built for the trailer. I could switch between the pencil board, a working cut that included draft footage, and a cut that used approved footage with sketches filling the gaps. In every view I could play the whole thing with the score, sound effects and captions. A sketch could sit right next to a finished shot and tell me whether the transition worked. That was worth more to me than a folder of beautiful clips.
The shot editor let me reorder thumbnails, change durations and export the timeline as JSON, a small text file that records what plays when. The review player could load that file and use the new timing. I kept each shot’s original reference ID even when its position changed. When I moved a scene, the chosen take and its source timecodes followed it. I could still find the original prompt without conducting an archaeological dig through my Downloads folder.
You can do this with a regular video editor and a spreadsheet. Give each shot a stable ID and a row with its storyboard image, duration, dialogue, selected take and in and out points. Put the sketches on the timeline at their actual lengths. Use the same row when a render comes in. You’ll see what still needs to be made and how much time you’ve actually got for it.
The order I wanted to watch the shots in and the order I needed to make them were different. The edit can leave Luciano and Rowan on the coast and come back to them later. For production I had to finish their walk as one setup, with the same clothes, light and voices. I learned to group the shots by setup before rendering, even when they ended up at opposite ends of the timeline.
Build the whole room
Every recurring character needed approved references. I wanted full-body views for the silhouette and clothes, separate close-ups for the face, and views from different angles. On some full-body sheets I removed the head so the face could come from a sharper reference. Luciano and Rowan also needed changes of clothes. Weeks go by in the story. At some point a man is entitled to change his shirt.
The locations needed coverage too. For the stone stazzo where Aion is assembled, I worked out where the bench went, what was on it and how the robot arms could actually reach the assembly rig. I wanted the rough plaster and timber ceiling of a real Sardinian building, with the storage and accumulated clutter of a room people use. The floor plan and the wall views had to agree. The audience might see the bench for half a second. I still had to know what was on the other side of it.
From a shot brief to a render
I used the Magnific MCP to connect my AI assistant to Magnific from the workspace where we were preparing the shots. MCP stands for Model Context Protocol. In practice, it meant the assistant could take the prompt and reference package we’d prepared, ask Magnific for a credit estimate, submit the version I approved and bring the take back for review. I could see which images we were sending, what the prompt actually said and how many seconds I was paying for.
Seedance 2.5 became my go-to model. I kept coming back to it for scenes that needed a performance and a deliberate cut within the same generation. Aion’s awakening was a good example. The robot arms had a specific job at his shoulder, and I wanted a separate angle tight enough for us to see a trace of gold and violet in his pupils. Here’s the kind of brief I’d prepare for a take like that.
- Performance
- Aion is still against the rig. His head is slightly lowered and his eyes are closed. Hold a beat before he raises his head and opens them.
- Action and camera
- Open on the arms fitting a small crystal facet at his shoulder. Cut to a tight oblique view of his face. His chin is still down at the cut.
- Reference jobs
- The portrait defines the face, the approved body reference defines the silhouette, the workshop images define the room and the pencil sketch defines the angle.
- Render and sound
- Review the duration and the estimate together. For this sequence I wanted silent picture so I could keep the narration and score from the edit.
I gave each reference a job. A photograph of the room could define the walls and light, and a sketch could define where I put the camera. If I needed the model to start on a particular image, I’d supply it as the first frame. For ordinary framing guidance, I’d attach it as a reference. That distinction mattered when I wanted live-action texture and the model was a little too fond of my pencil lines.
Carry the action across the cut
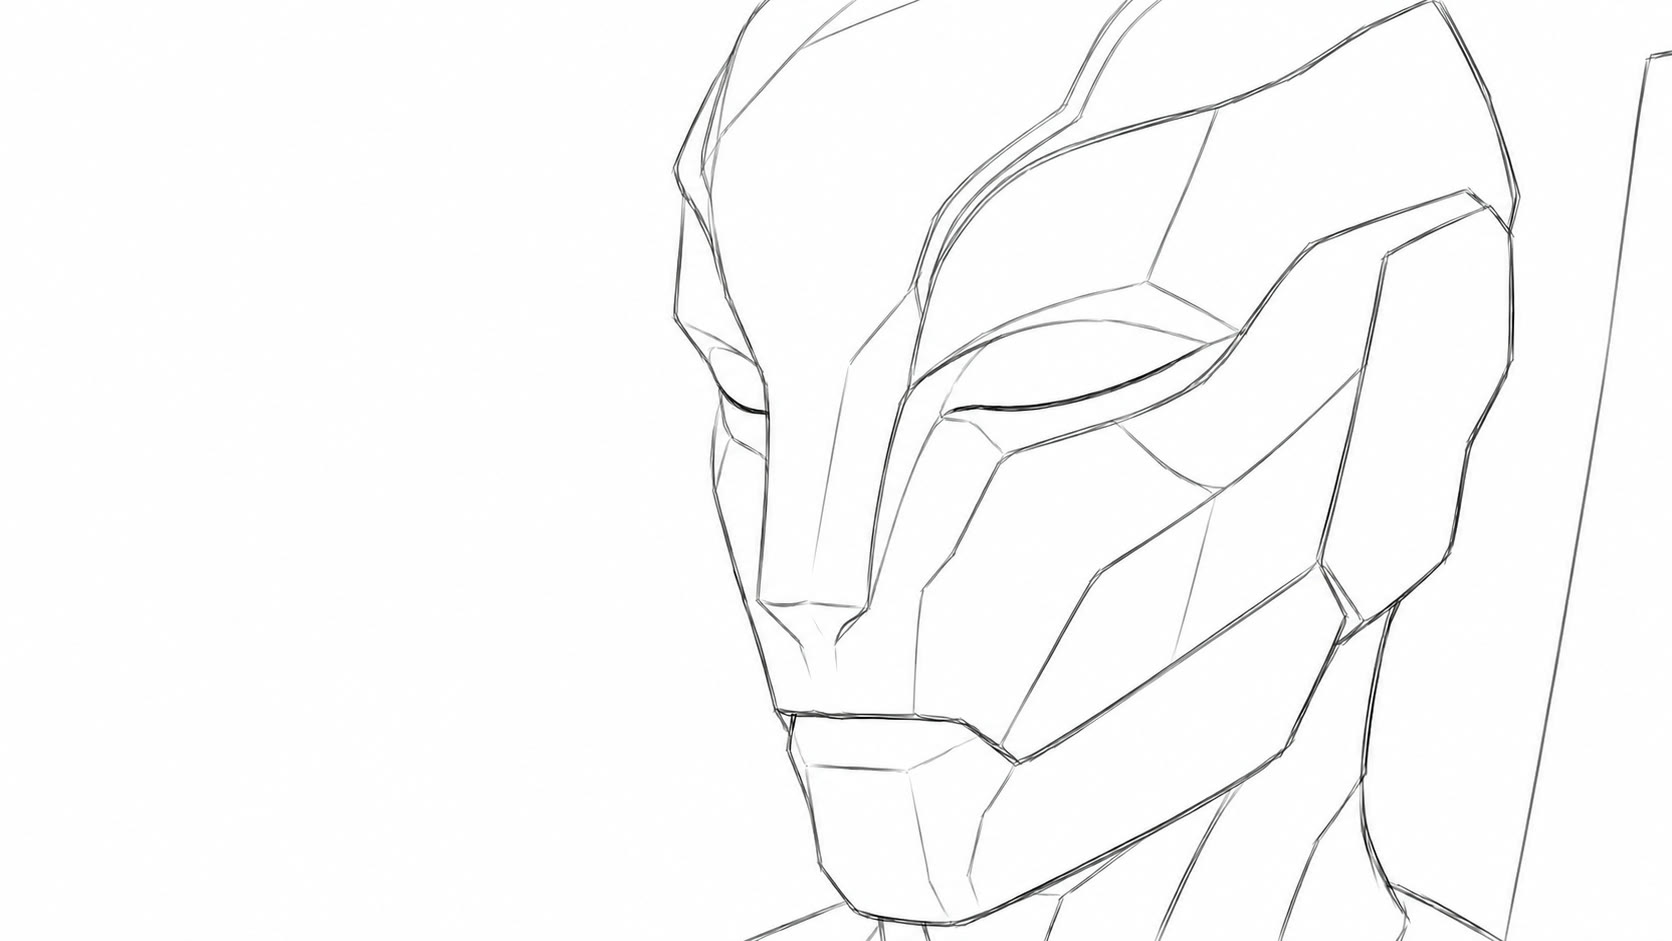
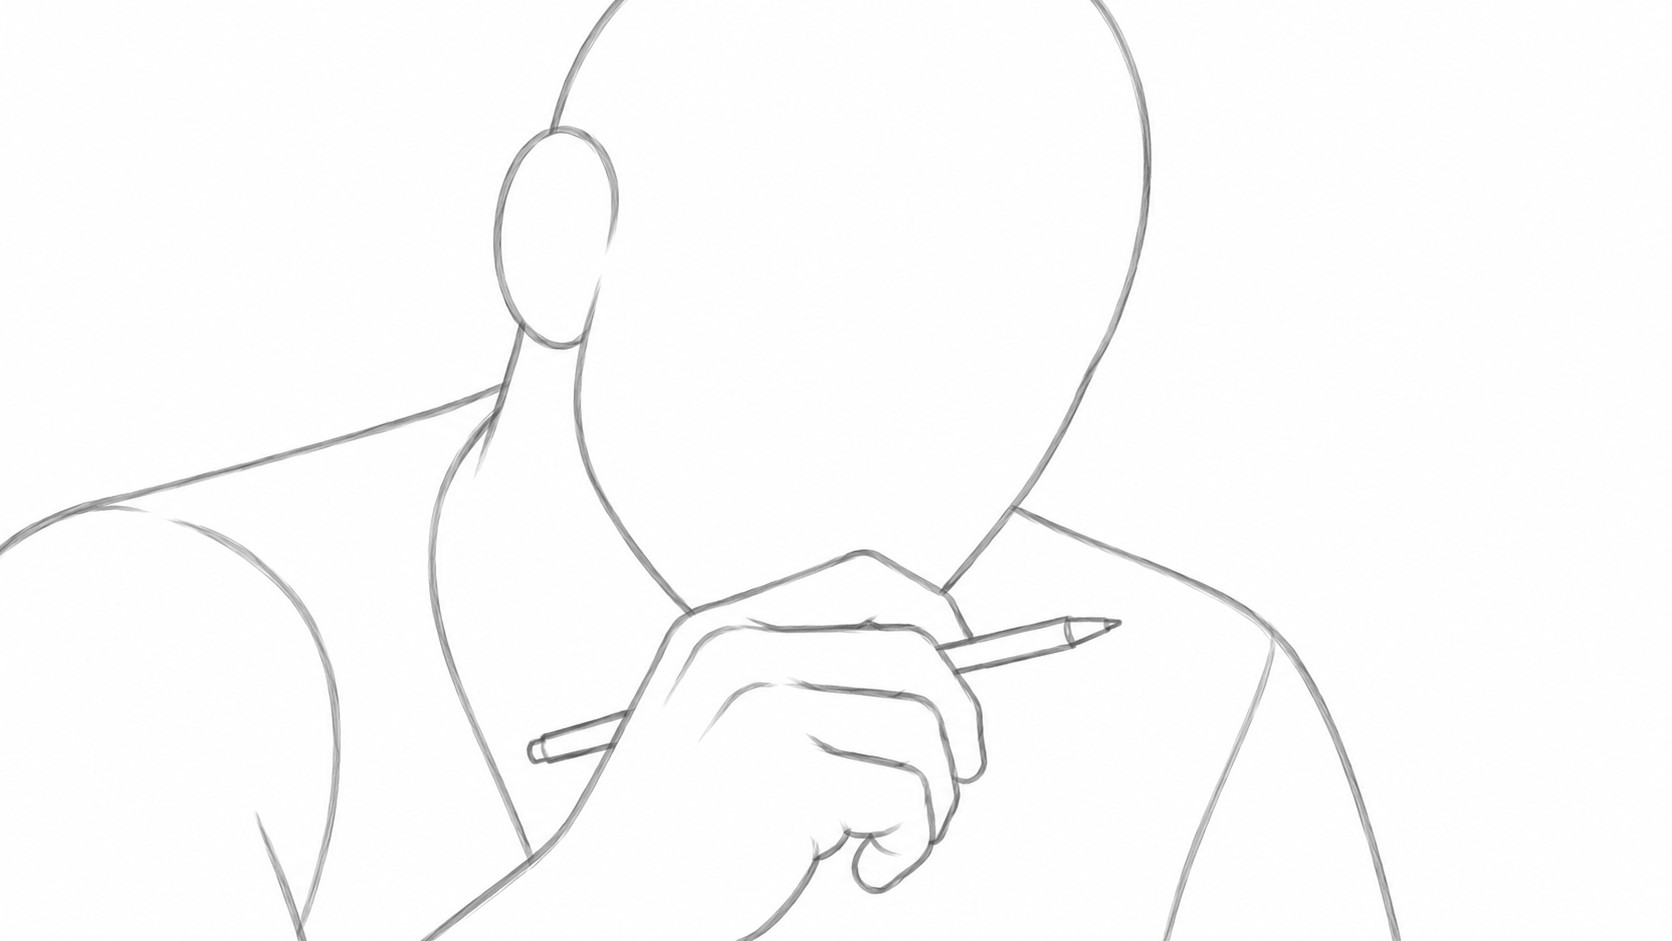
In the study, Luciano lifts a pencil as he recognises what he’s found. The notebook insert could stand on its own. For the two angles on Luciano I wanted one performance, so I put both in the same prompt and asked for a hard cut. On the tighter angle, the pencil has to be beside his chin the instant we see him. Saying “close-up” got me another view of the room. The close-up sketch made it clear how much of the room I meant to lose.
Change what the model is working from
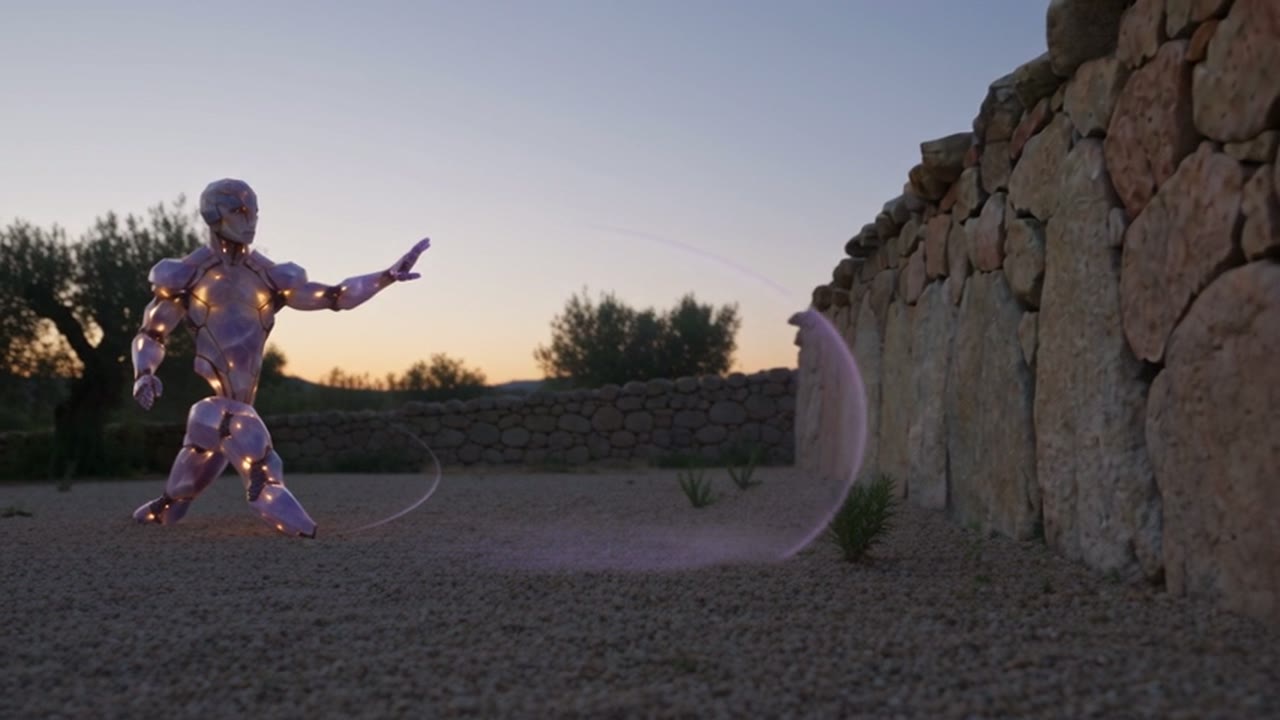
In the garden I wanted Aion to send a ripple towards a granite wall. One early take followed the loose drawing so closely that the world looked drawn too. Aion looked as if he’d taken up fencing. A later wide had him raise his right arm, while the close-up picked up on his left. I used photographic references for the body, face and taller wall, described where he was standing in words, and put the wide and close into a single take. This time I could watch his left hand finish rising after the cut. I kept the ground-level view of the ripple reaching the wall from an earlier take.
Direct the person who’s listening
I love the way Outlander will cut to the person hearing a line. I wanted that kind of attention to reactions, with a little handheld movement even in quiet scenes. On the coastal walk, a take could give me a good Luciano close-up and still lose the scene when he looked into the lens. Rendering the exchange as one continuous performance gave me a walk and a conversation that belonged together. I could then cut back to a close-up of Rowan smiling from an earlier take and keep the sound of the walk running underneath.
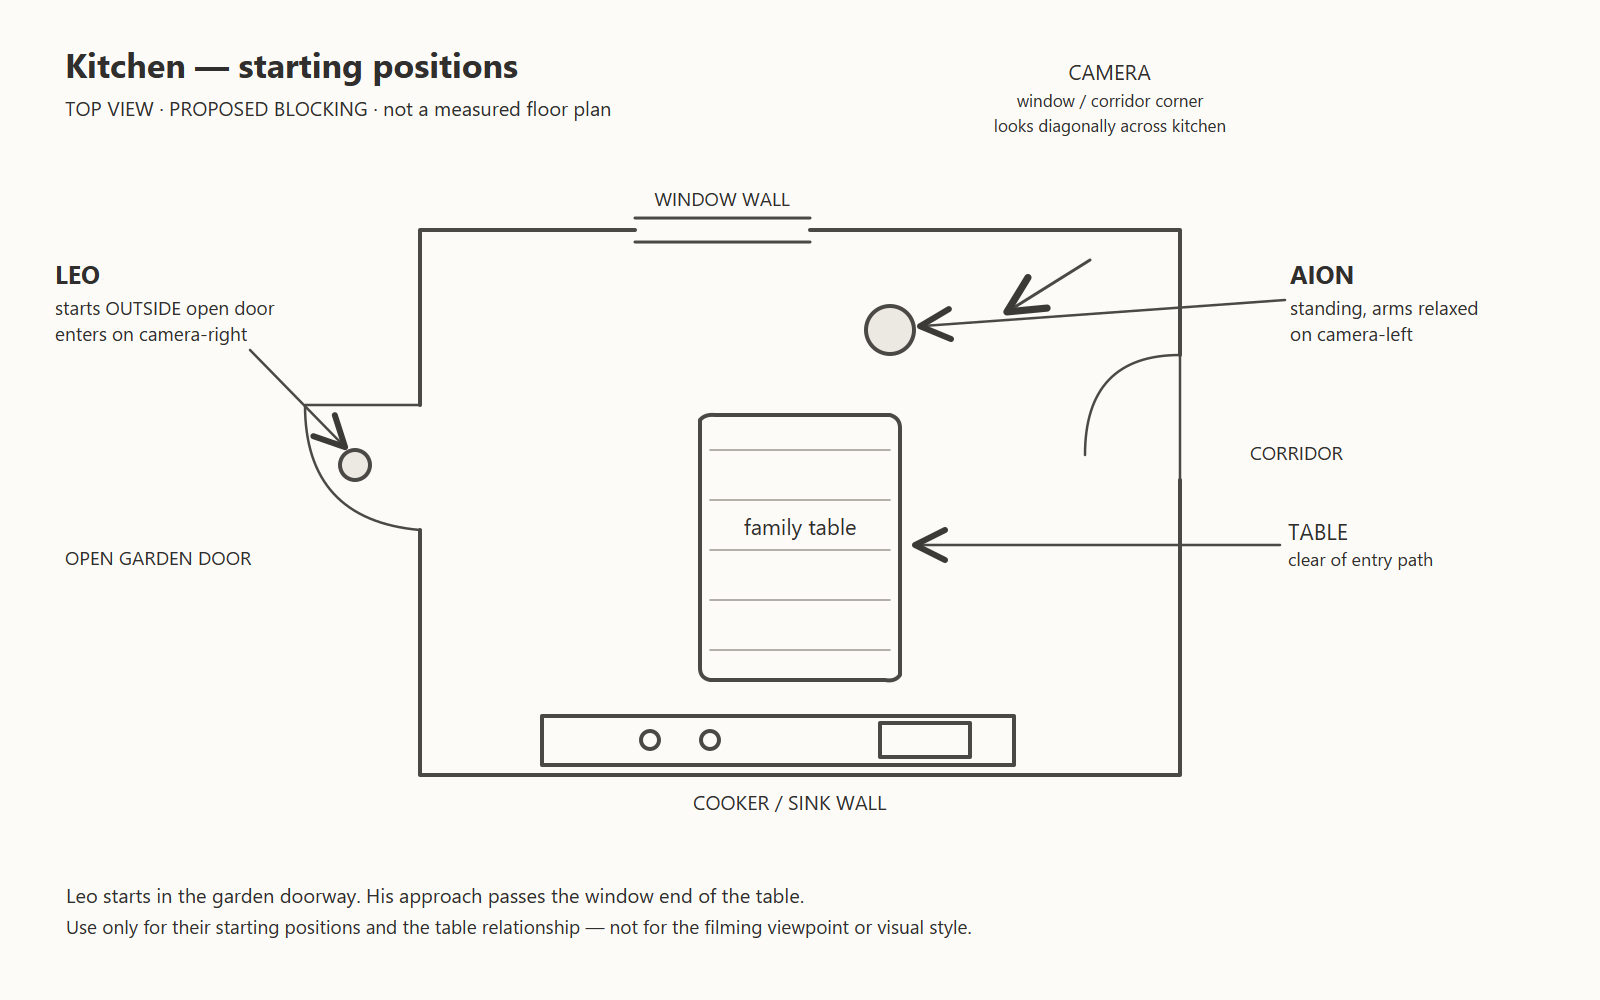
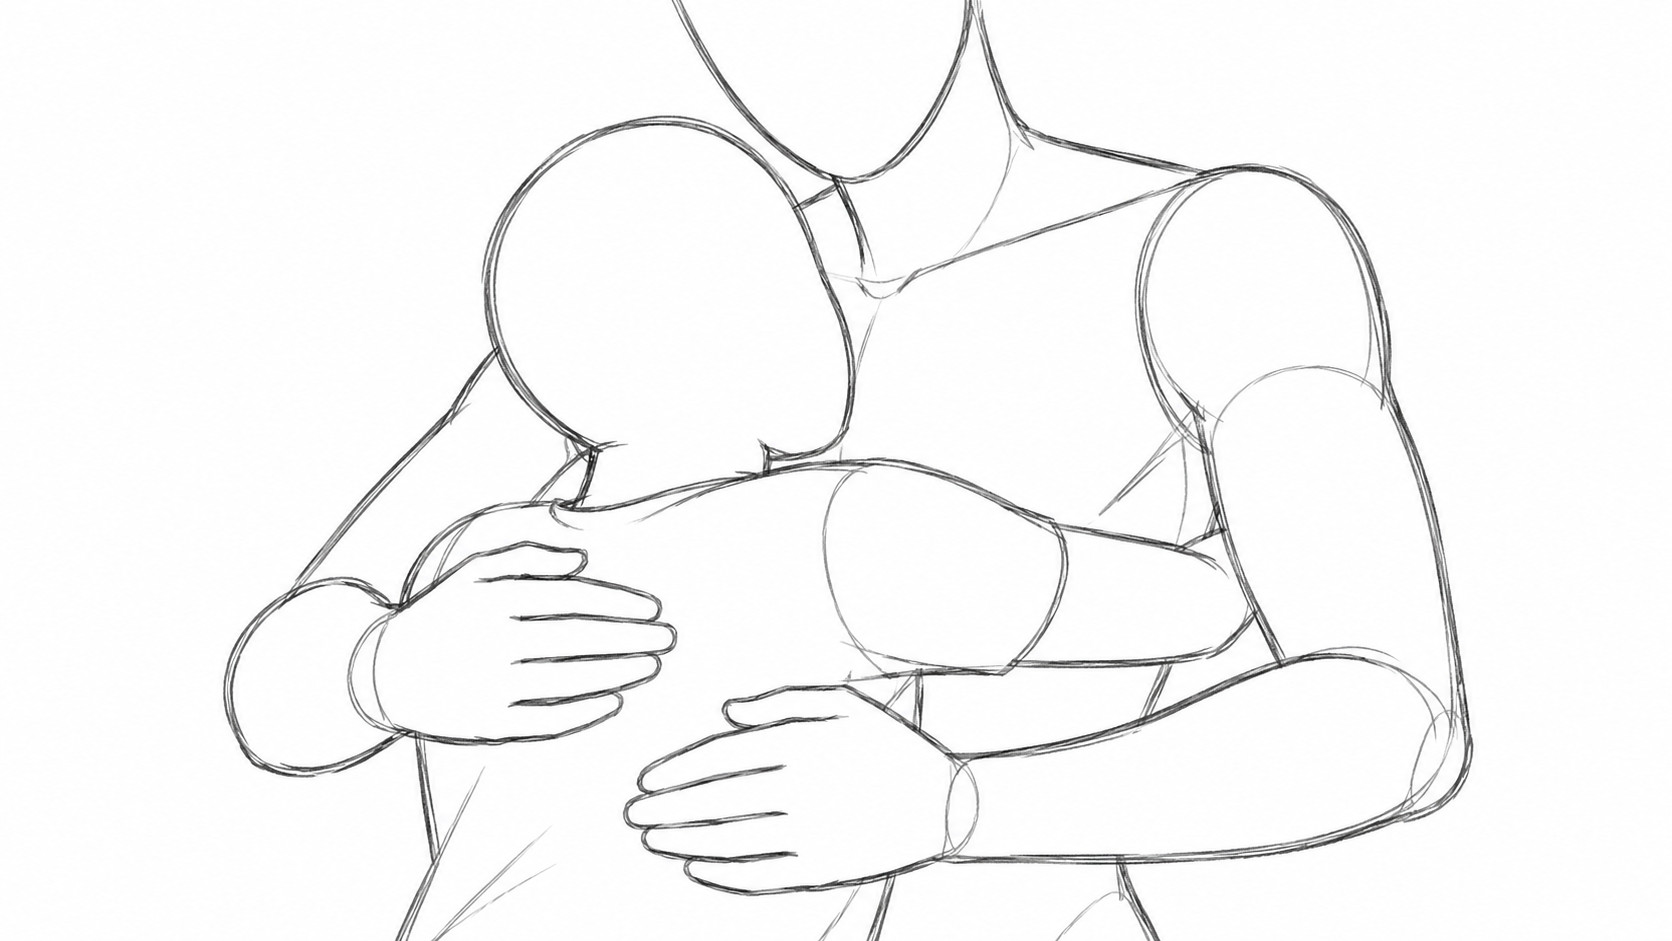
I made a bigger change to Leo’s first hug with Aion. In the book, Leo walks over to him while he’s seated. On screen I wanted Aion standing and Leo peeking in through the open garden door before running to him. The room had to give him a clear path. The moment I was looking for came after contact, when Aion hesitates and his fingers finally close on the boy’s back. That small move earned its own shot.
Leo also kept coming back with a British accent. I tried putting a large American flag on his shirt for the voice audition. It worked. He then said “You’re warm” with the ease of someone remarking on the weather. I wanted the line to sound like something a child discovers while holding on to somebody. So there was another take. The one I used came from CapCut.
Put every take back in the film
I watched each new take with the shots on either side of it. A take I loved on its own could run a second too long once I heard the next line. A reaction I’d barely noticed could turn out to be the reason to keep the shot. That was also how I decided what to change in a retake. Sometimes I needed a different performance. Sometimes I just needed another half-second at the end of a line.
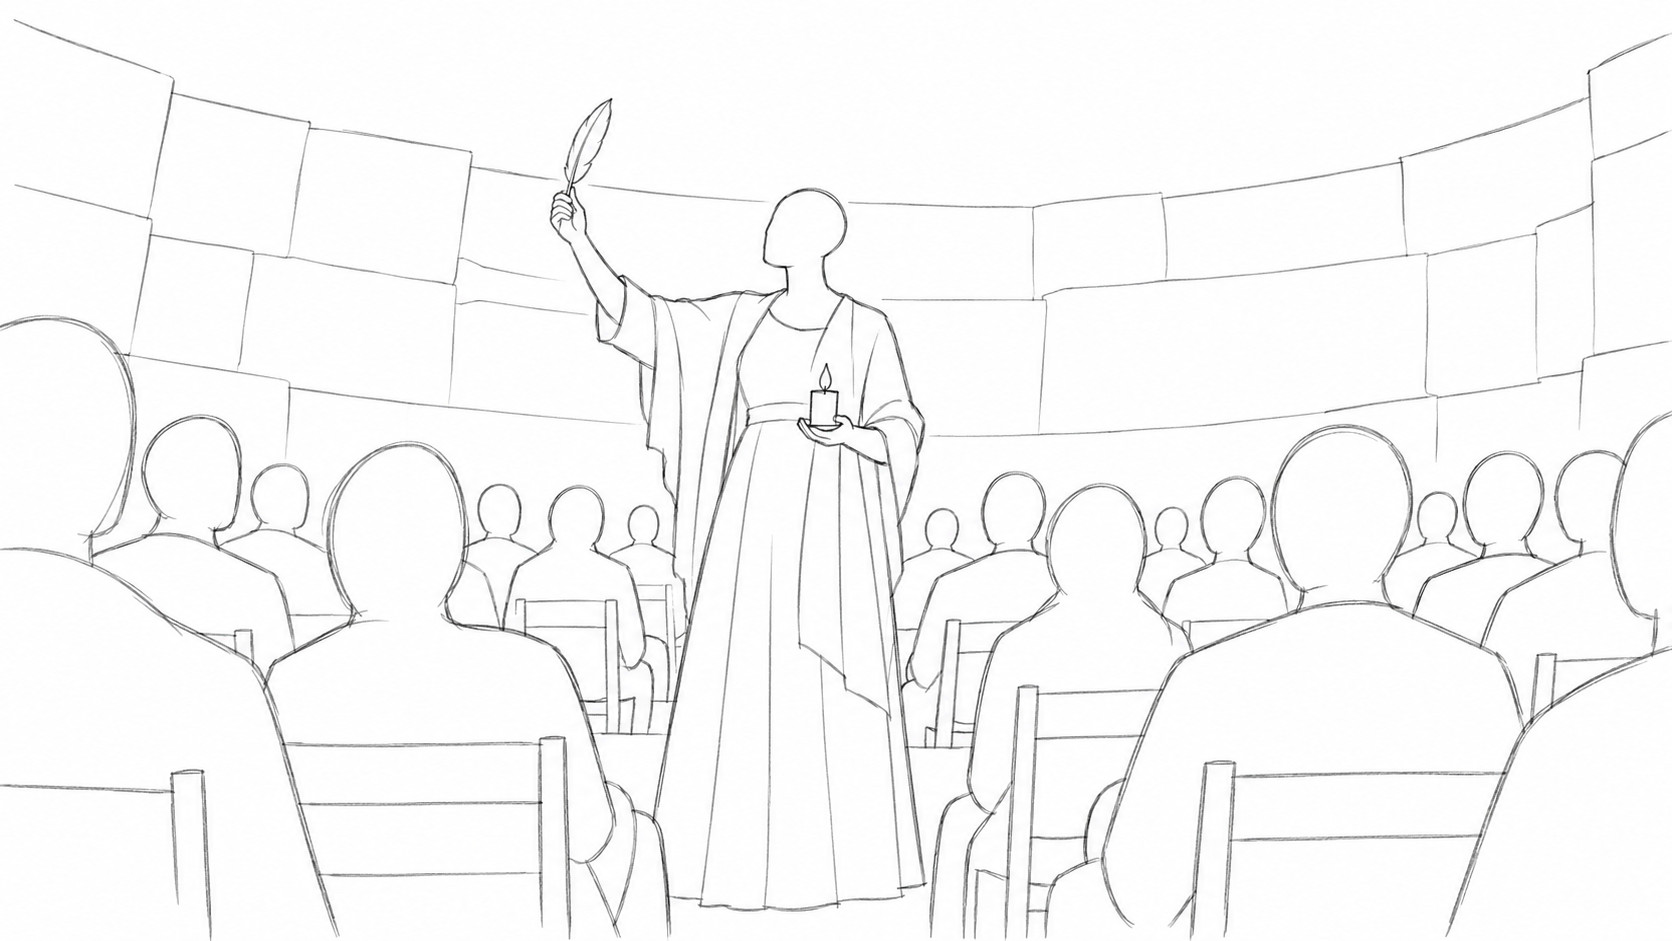
Early on, the concert got so much room that the discovery felt hurried. I shortened that stretch and made time for Luciano to send his work to Marco, and for Rowan to ask if he was sure. The rehearsal gave the concert a way in. By the time we reached the quarry, we’d already seen the people making the music. Later I could return to Rowan and the candles with very little explanation.
The order could also change what the audience thought had happened. If the crisis footage followed the discovery too neatly, it looked as if Luciano had caused the shortages. I wanted you to understand that the world was already in trouble, and that the people who benefited from scarcity now had a reason to come after him.
Sound could change a cut as much as a new angle. I let the Aion Theme fade down through Marco’s line, brought in Golden Devotion for the rehearsal and concert, then returned to the main score. Luciano’s name took a pronunciation pass. Aion’s voice kept its low and midrange harmonics after I tried and dropped a crystalline layer. The whole mix went through another pass when the music kept stepping on the people I’d spent all that time trying to hear.
One of Marco’s takes came back with music already mixed under his voice. That’s a nuisance when his line is supposed to land as my own score fades. I learned to ask for dialogue and room sound on their own wherever I could. I wanted to decide how loud the room was and when the music came in.
Spend the credits on the performance
My budget had to cover the takes I threw away as well as the ones you see. I used Seedance 2.5 Draft at 480p for much of the shooting. Four seconds was enough to audition a voice or test one small correction. An exchange with two actors and a reaction shot earned more time. I put those savings towards another attempt when the acting needed one. At 480p I could already see if Luciano was looking into the lens or if Aion’s hands closed a beat too soon.
I used FFmpeg scripts to turn the pencil boards into timed previews and assemble the working cut. The locked cut went out as a 720p master. For Topaz, I used an H.264 MP4 after the MOV I tried was rejected. I made a ten-second test first with Luciano, Rowan and Aion, mixing close-ups and wider shots so I could look at skin, crystal and background detail in the same export.
I settled on Topaz Astra 2 at low creativity and low sharpness and upscaled the finished cut to 1080p. I wanted enough detail for the close-ups while keeping the faces and surfaces I’d already chosen. Once the upscale looked right, I added a fine layer of film grain. The practical order was to choose the performances, lock the cut, test a sample, then upscale the whole thing. It’s easier to see whether a face has changed when you have the same take playing beside it.
The grain script I use
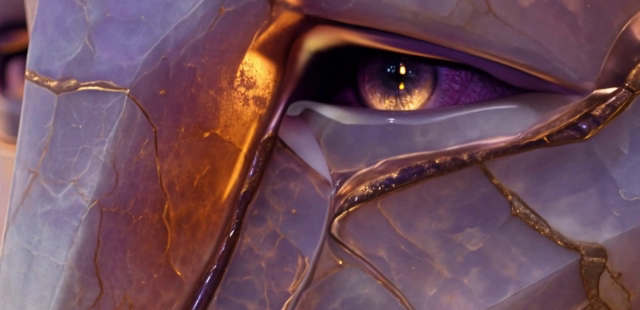
I brought this grain over from Romans Out of Time. The script builds three sizes of moving grain and blends them into the brightness of the picture. Some of the grain carries over from one frame to the next, so it moves steadily. I kept the blend at 0.0914 for this trailer. The texture shows up in the softer violet facets below Aion’s eye, and the edges of the crystal stay clear.
Download the film grain script (.py)
Use it on the finished SDR upscale. It needs Python 3 and FFmpeg with ffmpeg and ffprobe available in your terminal. The script generates the grain locally and copies the audio without re-encoding it. The first command makes a short comparison with the original on the left. The second applies the grain to the whole film.
python film-grain.py upscaled.mp4 grain-test.mp4 --sample 0 3 --compare
python film-grain.py upscaled.mp4 finished.mp4
If you’re making your first AI film, try this on one short scene. Read the pencil version aloud. Leave time for the line and for somebody to hear it. Then write down what the next angle lets you see. That gives you something to judge at every stage, from the first sketch to the last render.
By the end I knew the test I cared about. When Leo ran through that door, I wanted to believe he’d seen someone he could hug. And when Aion’s hands moved, I wanted to believe the hug had changed something for him too. I knew both of them from writing the book. Directing the trailer meant finding a way for you to know them in a few seconds.
Magnific MCP documentation · Seedance 2.5 model overview · Topaz Astra 2 · FFmpeg downloads